Uploding your first course
Welcome to your course builder! Our platform makes it easy to create, structure, and publish your online courses. This guide will walk you through the entire process, from setting up your course to adding modules and lessons. We have a SaaS platform and agency that helps content creators publish and sell their online courses
Getting Started: Create a New Course
Section titled “Getting Started: Create a New Course”The first step to building your online course is to create it. You’ll set the foundation by defining the course name, description, and other key details.
Steps to Create Your Course
Section titled “Steps to Create Your Course”-
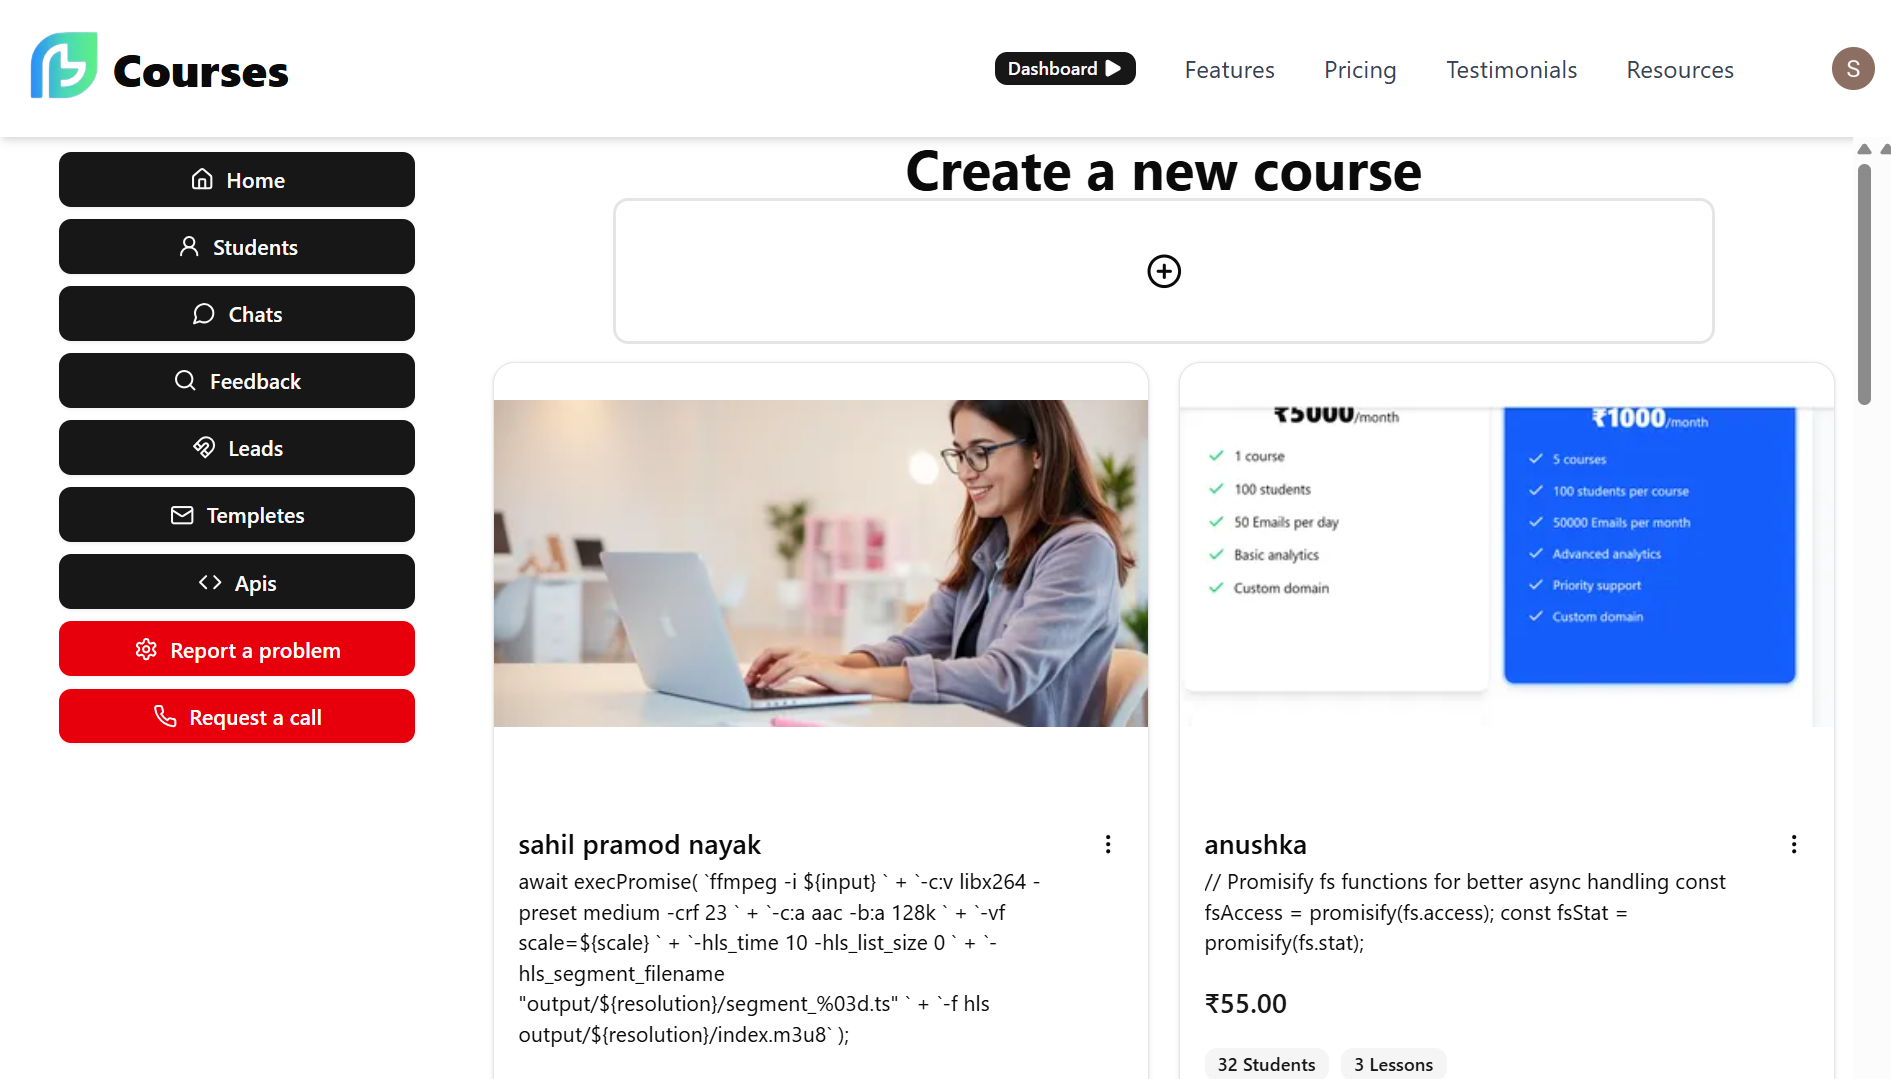
From your main dashboard, locate and click the Create a new course button.
-
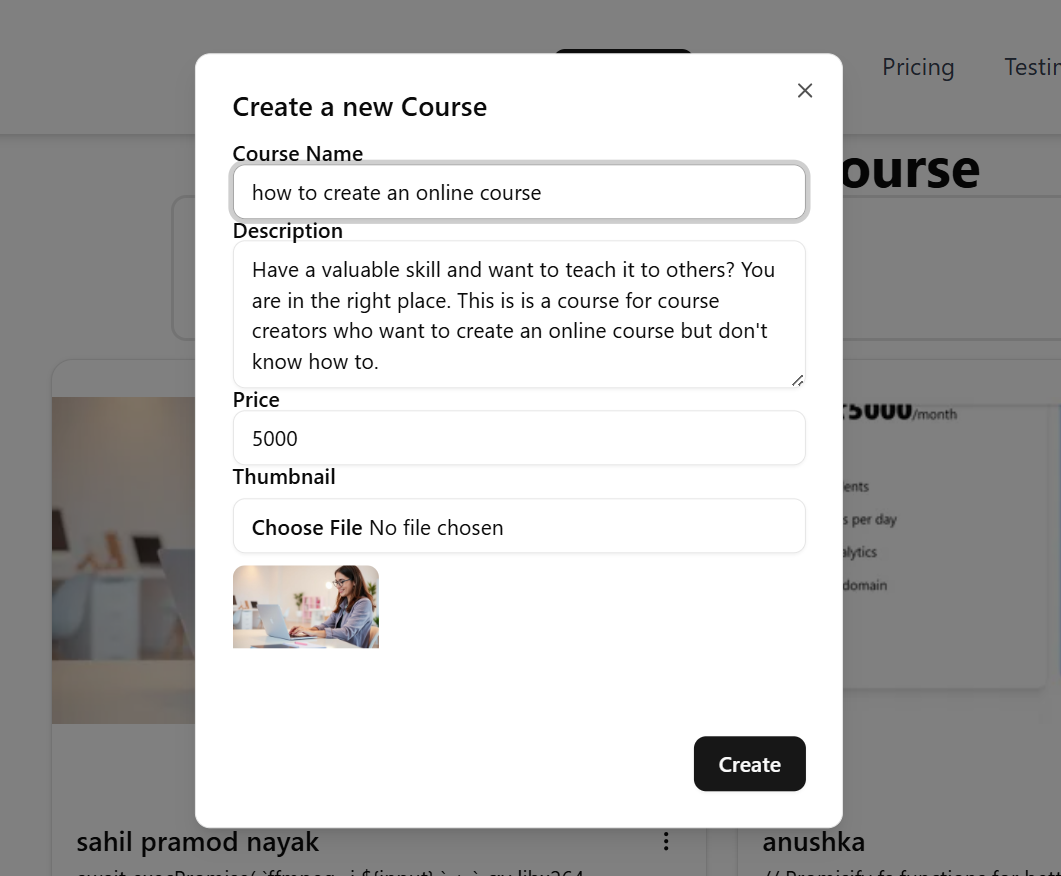
A pop-up window will appear, prompting you to fill in the course details. Enter the following information:
- Course Name: Give your course a clear and compelling title.
- Description: Write a brief overview of what your course is about. This will be visible to your students and helps them understand the value.
- Price: Set the price for your course.
- Thumbnail: Upload a high-quality thumbnail image. This is the main image that will represent your course on your course page.
-
Once you have filled out all the details, click the Create button.
Structuring Your Course: Adding Modules and Lessons
Section titled “Structuring Your Course: Adding Modules and Lessons”A well-structured course is easier for students to follow. Our builder uses a simple two-tier hierarchy: Modules contain Lessons.
Creating Modules
Section titled “Creating Modules”Modules are the main sections of your course. They can be used to organize your content by topic, week, or any other logical grouping.
-
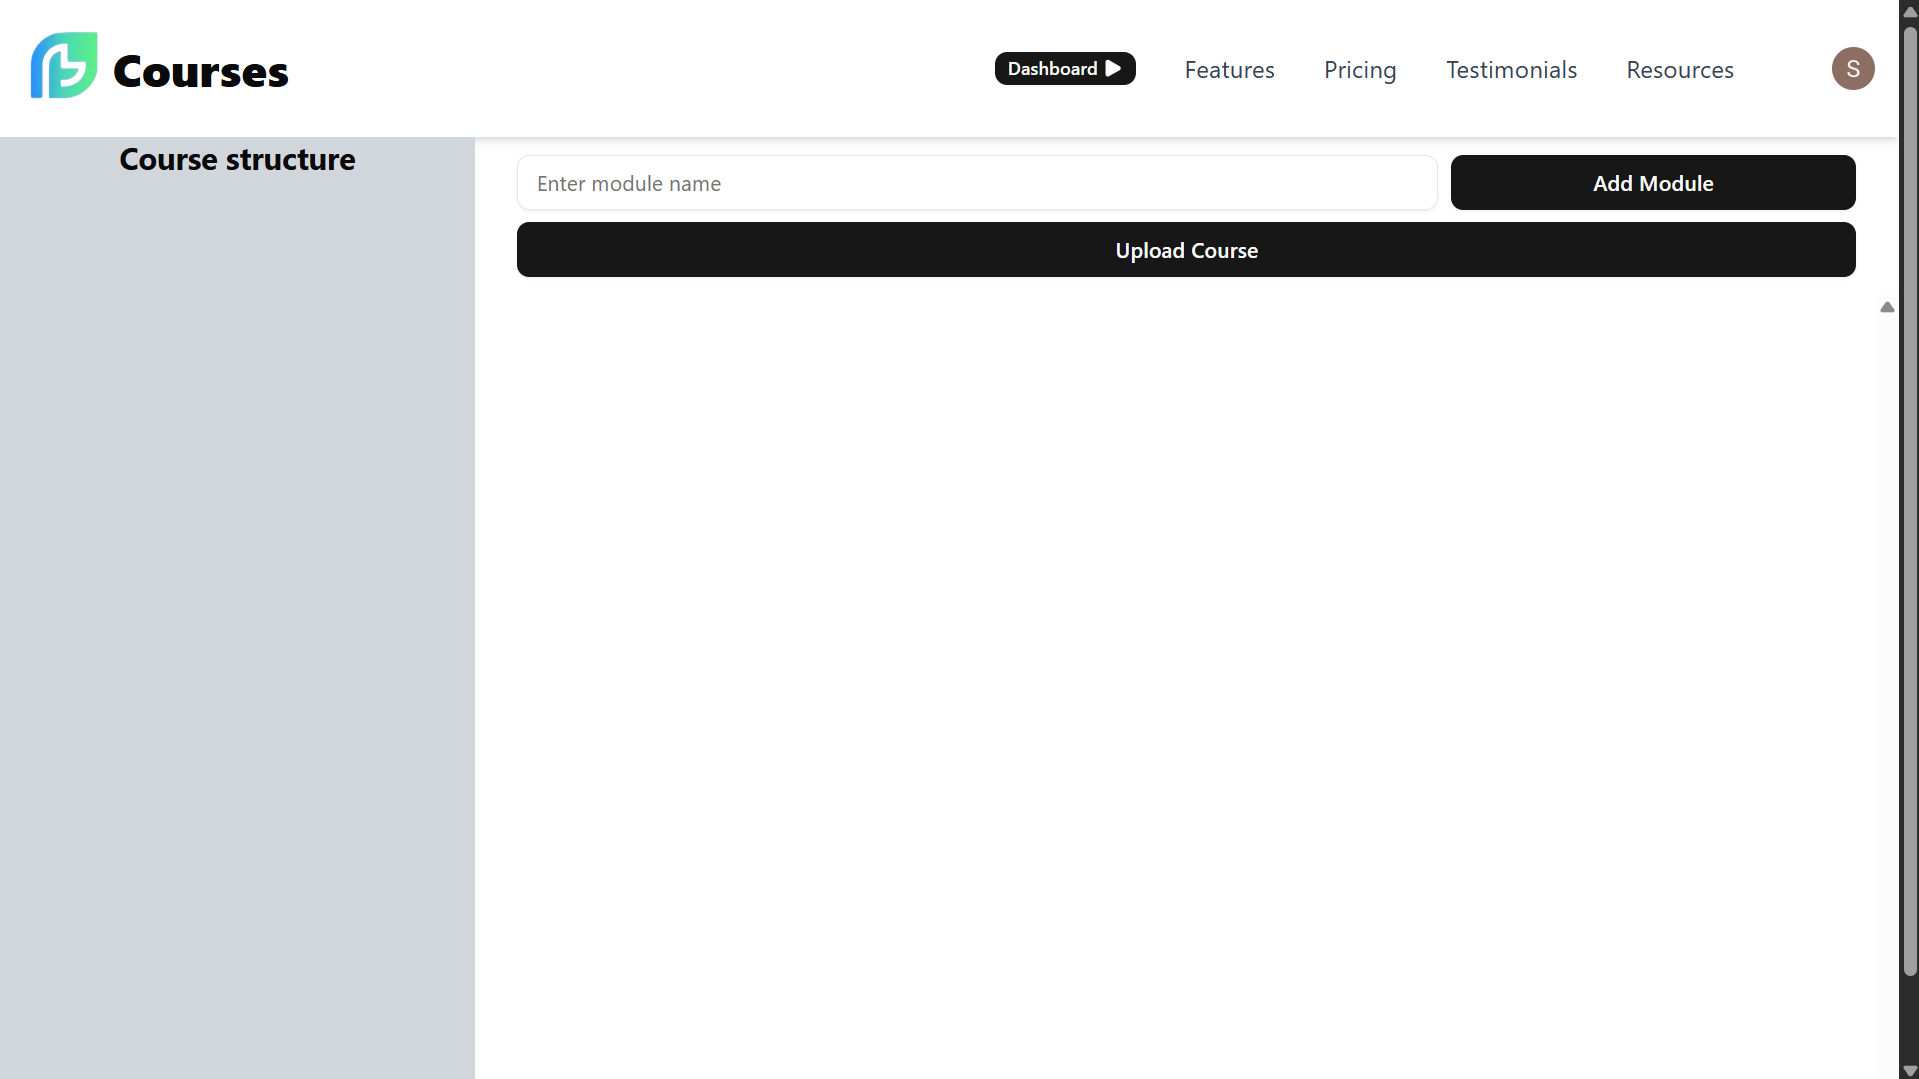
After creating your course, you’ll be taken to the course structure page.
-
In the Enter module name field, type the title for your first module.
-
Click the Add Module button to create it.

-
Repeat these steps to add as many modules as you need. You can always come back and add more later.
Adding Lessons
Section titled “Adding Lessons”Lessons are the individual components of your course, such as video lectures, assignments, or quizzes. Lessons are nested within modules.
-
To add a lesson, first click on the module you want to add it to.
-
In the lesson builder section, fill in the following details:
- Name: Give your lesson a title (e.g., “Introduction to SEO”).
- Description: This section is similar to the description of a youtube video. You can provide a summary of the lesson’s content or provide links to external links that might want to share.
- Lesson Number: The builder automatically assigns a lesson number, but you can change this if needed to adjust the order.
- Upload Thumbnail: Upload an image to serve as a thumbnail for the lesson. All the major image formats are supported and you do not have to worry about optimizing it for the web we will convert it to webp and resize it for you.
- Upload Video: Upload your video content for the lesson. Only MP4 format is supported. You can either drag and drop your video file or click to select it from your computer.
-
Once the video and thumbnail have uploaded, click the Add Lesson button.
Managing Modules and Lessons
Section titled “Managing Modules and Lessons”Our course builder gives you full control over your course structure.
- Reorder: You can easily reorder lessons by changing the lesson number manually.
- Edit: To edit a module or lesson, simply click on its name to expand and change the details.
- Delete: To delete a module or lesson, click the Delete button. A confirmation message will appear to ensure you don’t accidentally remove content.
What’s Next?
Section titled “What’s Next?”Once you have created your course and added your content, you can preview it to see how it looks to your students. You can also move on to other features, such as our email templetes, our sales CRM, our student CRM,etc.
Have more questions about the course builder? Feel free to reach out to our support team!